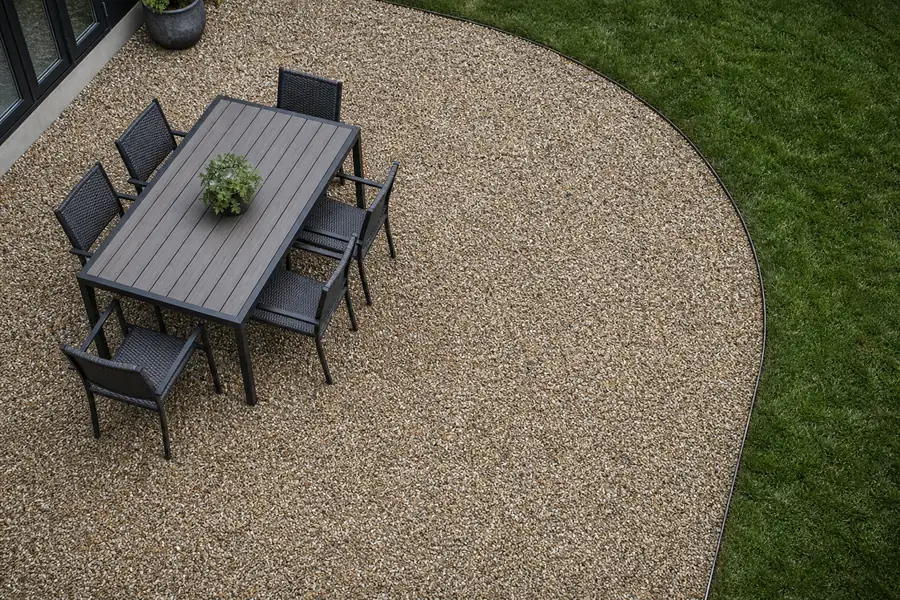
How to Build a Pea Gravel Patio: Step by Step
A pea gravel patio is the fastest, lowest-cost patio a homeowner can build in a weekend, but fast doesn’t mean skipping steps. The build that actually lasts uses the same principle contractors rely on under driveways and walkways: a compacted base does the structural work, and the pea gravel on top is just the finish layer. Get the base wrong and the patio you built on Saturday needs rebuilding by next spring, with sunken chair legs and stone scattered across the lawn. Here’s the correct order to do it once.
Key Takeaways
- Excavate 4 to 6 inches deep and install edging before adding any fill, since gravel migration is the number one failure point on DIY patios.
- Compact 2 to 3 inches of crusher run or road base beneath 2 inches of pea gravel. Pea gravel alone on soil will always shift and sink over time.
- A 12 by 12 foot patio needs roughly 2 tons of base material and 1.25 tons of pea gravel.
- A 16 by 20 foot patio needs roughly 4.25 tons of base material and 3 tons of pea gravel.
- Budget a full weekend to build it and typically $300 to $1,200 in materials depending on patio size.
What You’ll Need to Build a Pea Gravel Patio
Every pea gravel patio that holds up uses the same short list of tools and materials. Missing any one of these is usually why a patio ends up uneven or overrun with weeds within a season.
- Shovel, rake, tape measure, stakes, and mason’s string for layout and excavation
- A plate compactor, rentable by the day from most equipment rental yards
- Landscape edging (metal, paver, or timber) plus stakes to hold it in place
- Geotextile landscape fabric to block weeds and separate soil from stone
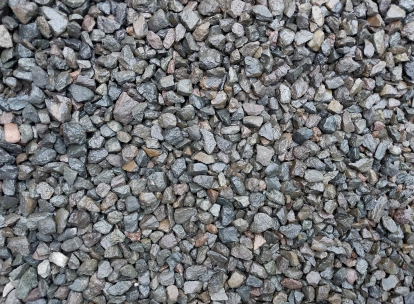
- Crusher run or road base, a compacted mix of crushed stone and stone dust that locks together into a dense, load-bearing sub-base, for the layer beneath the gravel
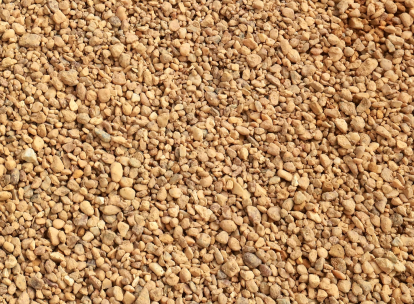
- 3/8 inch pea gravel for the finish layer
- Wheelbarrow and a hand tamper for tight edges and corners
How to Build a Pea Gravel Patio Step by Step
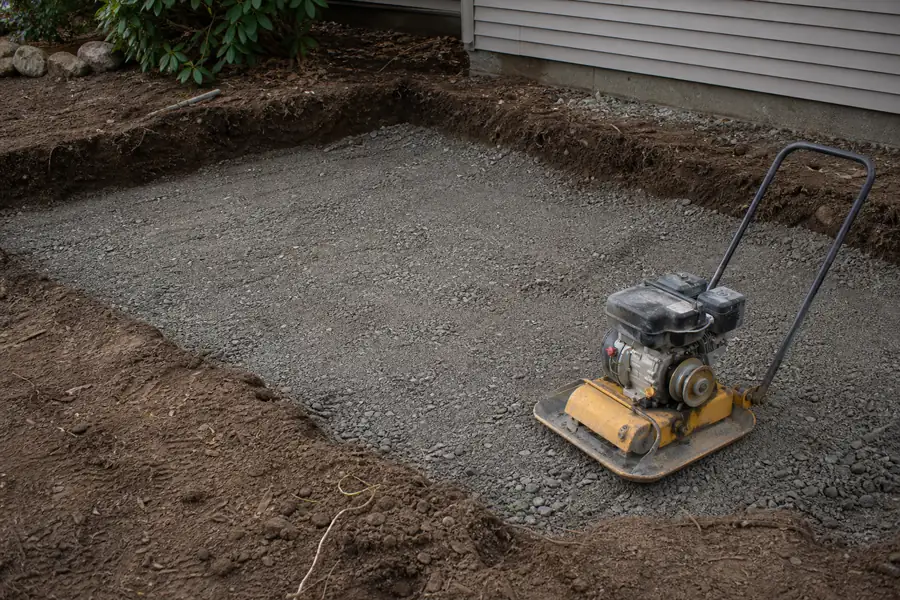
Build the patio in this order and each layer does its job. Skip a step and the layer above it inherits the problem.
- Mark and excavate. Outline the patio with stakes and string, then dig 4 to 6 inches deep across the entire footprint, extending the excavation a few inches past where the edging will sit.
- Install edging first. Set metal, paver, or timber edging along the perimeter and stake it into undisturbed soil before any fill goes in. This single step stops more gravel from migrating onto the lawn than anything else in the build.
- Lay geotextile fabric. Roll the fabric across the excavated base, overlapping seams by about 6 inches. It blocks weeds from pushing up through the stone while still letting water drain through it.
- Add and compact the base layer. Spread 2 to 3 inches of crusher run or road base, dampen it lightly, and run the plate compactor over it in overlapping passes until it feels solid underfoot and doesn’t shift when you walk on it.
- Check the slope. The compacted base should slope away from the house at roughly a quarter inch per foot so water drains off the patio instead of pooling.
- Spread 2 inches of pea gravel. Pour the pea gravel over the compacted base, rake it level to the top of the edging, and tamp it lightly by hand so it settles without loose high spots.
Why Pea Gravel Alone on Soil Always Sinks
Pea gravel poured straight onto bare dirt will always shift, rut, and sink, no matter how thick the layer. Pea gravel is small, rounded, and smooth, which means the individual stones roll past each other instead of locking together. Without a compacted base underneath to spread the load, foot traffic and furniture push the stones straight down into the soft soil beneath them.
A compacted crusher run base works the opposite way. Its angular particles interlock and pack tight, forming a dense platform that spreads weight across a wide area instead of letting it concentrate under one shoe or one chair leg. That’s the entire reason base layer thickness matters more to a patio’s lifespan than how much pea gravel sits on top.
How Much Pea Gravel and Base Material You Need
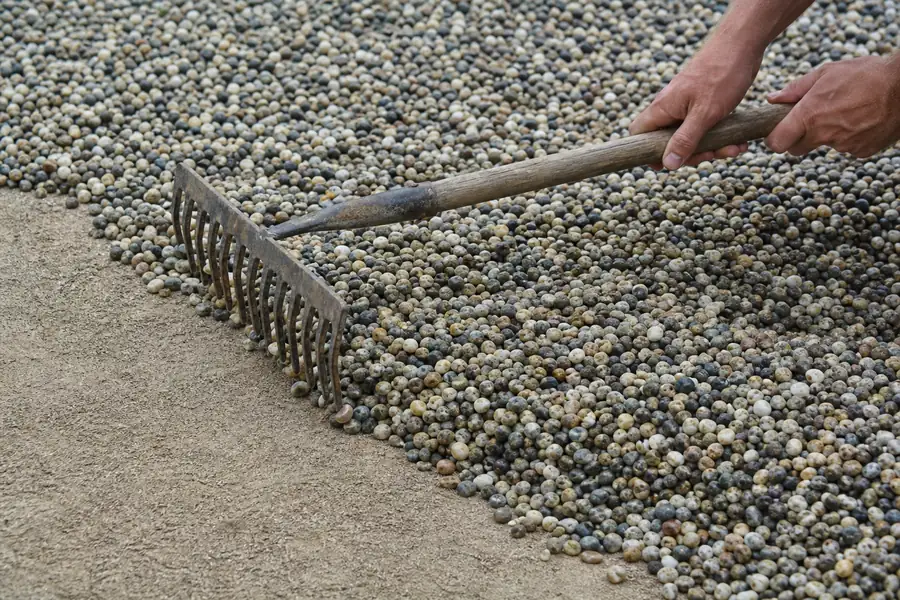
Tonnage depends on patio size, and a 4 inch base plus 2 inch gravel layer is the standard depth for a residential pea gravel patio. Use the table below as a starting point, then run your exact dimensions through the pea gravel calculator before you order.
| Patio size | Base material (2-3 in) | Pea gravel (2 in) |
|---|---|---|
| 12 x 12 ft | About 2 tons | About 1.25 tons |
| 16 x 20 ft | About 4.25 tons | About 3 tons |
Order 10 percent extra on both materials to cover compaction settling and uneven ground. Running short mid-build means a second delivery, which costs more than ordering a little heavy the first time.
Furniture Stability: Why Chair Legs Sink Without a Base
Chair and table legs sink into a pea gravel patio because the small, rounded stones can’t distribute weight on their own. All the pressure from one leg lands on a tiny cluster of loose stones, which simply push apart and let the leg drop, especially after rain softens whatever soil sits beneath it.
A compacted base layer fixes this by spreading that same point load across a much wider, denser surface. The gravel on top still moves a little underfoot, which is normal and part of the material’s character, but the furniture itself stays level because it’s really resting on the compacted crusher run below, not the loose stone. For patios that will carry a dining set or a fire pit regularly, a full 3 inch base is worth the extra material. For finishing touches once the base is right, our pea gravel landscaping ideas guide has border and planting options worth considering before you lock in the layout.
Pea Gravel Patio Cost and Time Estimate
A DIY pea gravel patio typically runs $300 to $1,200 in materials, depending on size, edging choice, and local delivery costs. Renting a plate compactor for a day usually adds $60 to $100 on top of material costs, and edging is often the single biggest cost variable since metal and paver options run higher than timber.
Plan on a full weekend for a patio in the 12 by 12 to 16 by 20 range: one day for excavation, edging, and fabric, and a second day for base compaction and the finish layer. Rushing the compaction step to save time is the most common reason patios fail early, so leave real time for it rather than squeezing the whole build into one afternoon.
FAQs
Do I really need a base layer under a pea gravel patio?
Yes. Pea gravel poured directly onto soil will shift, rut, and sink under foot traffic and furniture because the rounded stones have nothing solid to rest on. A compacted 2 to 3 inch base of crusher run or road base spreads the weight and keeps the surface stable for years instead of months.
How deep should a pea gravel patio be?
Most residential pea gravel patios use 4 to 6 inches of total depth: 2 to 3 inches of compacted base material topped with 2 inches of pea gravel. Going deeper on the base adds stability for patios that will hold heavy furniture or a fire pit.
Will landscape fabric stop weeds completely?
Geotextile fabric blocks most weed growth from below by separating the soil from the gravel, but windblown seeds can still sprout in the top layer over time. A light pull or spot treatment once or twice a season keeps a properly built patio nearly maintenance free.
Can I skip edging on a pea gravel patio?
Skipping edging is the most common reason pea gravel patios fail, since without a physical border the stone migrates onto the lawn every time someone walks across it. Installing edging before any fill goes in is a required step, not an optional upgrade.